How to Install a Smart Thermostat in 7 Easy Steps

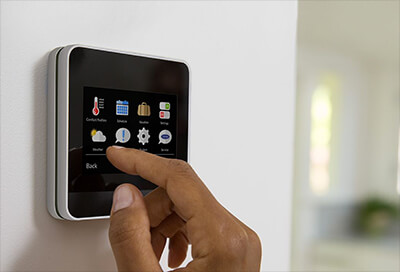
Are you looking to save on your energy bills this winter? Installing a smart thermostat is a great place to start. A smart thermostat can help you save up to 30% on your cooling and heating bill. Even better, smart thermostats are easy to install and allow you to control your home’s temperature from anywhere, whether you program one, use an app to control it when you’re away from home, or let it learn your living patterns. If you’re worried about installing a new smart thermostat, don’t fear — read on for seven easy steps to install a smart thermostat.
What You Need
Before you can install a smart thermostat in your home, you’ll need the following items:
- Smart thermostat
- Screwdriver
- Drill
- Level
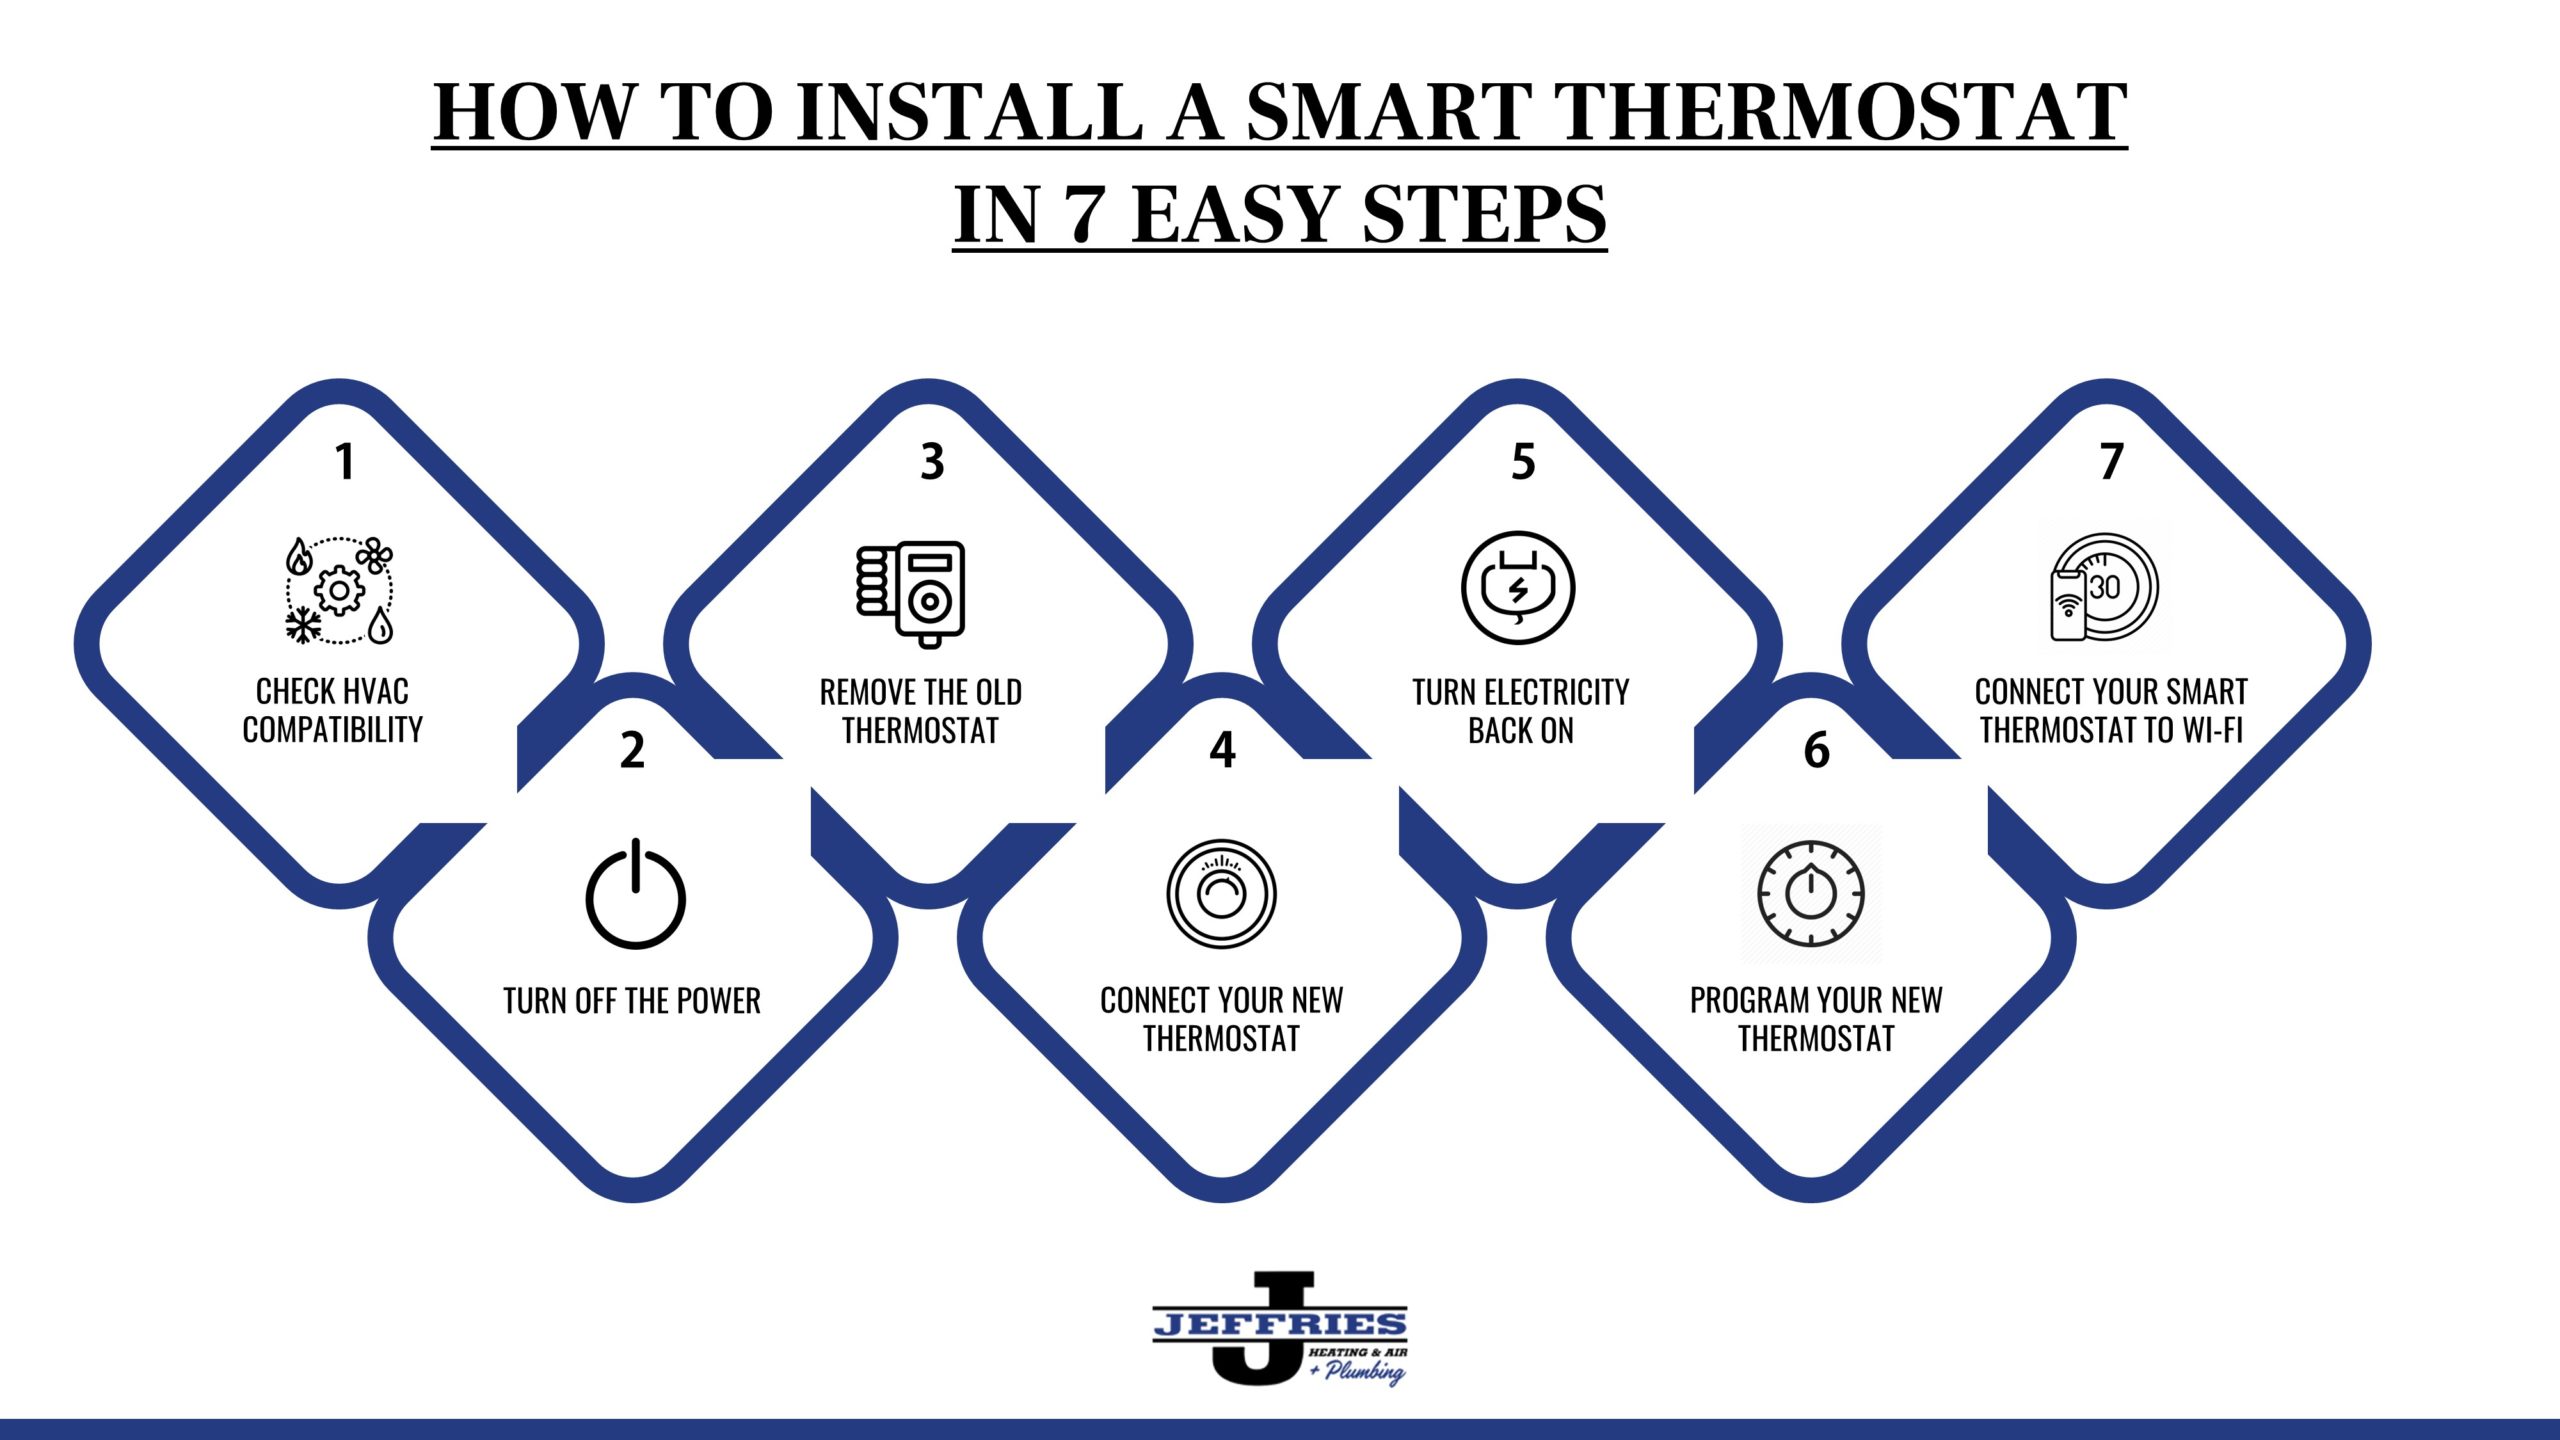
Step One: Check HVAC Compatibility
The first and most important step is to check and make sure your smart thermostat is compatible with your HVAC system before you actually buy it. Most smart thermostats are compatible with both central heating and cooling systems as well as forced air, radiant, and geothermal heat pumps. However, some smart thermostats are only compatible with specific types of HVAC systems. Many thermostat manufacturers will have tools on their websites to help you check, so make sure to take a look.
While you’re checking to see if the thermostat you have in mind is compatible with your HVAC, keep your home’s layout in mind as well. For instance, bigger houses might need the redirection and regulation of air in certain rooms. Temperature sensors may be an excellent addition to a smart thermostat in such cases, and you’ll want to make sure that your thermostats will play well with one another if you happen to need multiple.
Step Two: Turn Off the Power
Regardless of how skilled you are with DIY projects, we strongly advise you to cut the power to the thermostat before proceeding to the next steps. Flipping the breaker switch in your home’s electrical panel should do the trick. You will also want to ensure you have enough daylight left to complete the installation without the lights on.
Step Three: Remove the Old Thermostat
The next step is to remove the old thermostat from your wall. Be careful not to damage any wiring or pipes while doing this. Use a screwdriver to remove the cover of the thermostat carefully. Once the cover is detached, disconnect the wires from the terminals on the back of the thermostat and clearly label them. Undo the screws on the thermostat and pluck it out of the wall.
Step Four: Connect Your New Thermostat
This is usually the trickiest part of installing a smart thermostat. Start by connecting the base plate with the self-tapping screws and seat the thermostat into the base. Reconnect each wire to its corresponding terminal on the back of your new thermostat. Once the wires are connected, use the screws to secure it to the wall. You’ll need to fix the display after you’ve completed reconnecting the wires. Attach the display to the base; it clicks into place when set correctly.
Step Five: Turn Electricity Back On
Go back to your circuit breaker and turn the power back on. If your thermostat comes on, you’ve wired everything correctly and can progress to the next step.
Step Six: Program Your New Thermostat
Now that your new thermostat is successfully installed, it’s time to program it. Each smart thermostat is different, so you’ll need to consult the instructions that came with your device. Typically, you’ll need to enter your zip code and your home’s heating and cooling settings.
Step Seven: Connect Your Smart Thermostat to Wi-Fi
To control your smart thermostat remotely, you’ll need to connect it to Wi-Fi. To do this, download its companion app from the Apple App Store or Google Play Store to the mobile device you’ll use to control your thermostat. Carefully follow the on-screen instructions to set it up. This phase differs depending on the make and model, so follow the prompts closely.
Control Your Heat and A/C from Your Cell Phone
This part is where the “smart” technology really comes in! Once you connect the thermostat with your home’s Wi-Fi, you can monitor it from anywhere you have a Wi-Fi connection. You’ll be able to control your home’s temperature from your smartphone or computer. Consequently, you can save money on your energy bills by turning down the heat or air conditioning when you’re not home.
A smart upgrade for your old thermostat is an easy way to increase your home’s efficiency and help you save on your monthly energy bill. Furthermore, smart cooling and heating control come with plenty of added convenience. If you’re ready for a thermostat replacement, a smart thermostat is the best option for your home.
At Jeffries Heating & Air + Plumbing, we specialize in smart thermostat installation for our customers to make the transition to smart technology painless. In addition to our heating and air conditioning services, we also provide plumbing services and more to Somerset, KY residents! Don’t hesitate to give Jeffries Heating & Air + Plumbing a call if you have any questions about our services.
Call now to learn more about our services.


